
You’ve just received your beautiful, custom range hood from Blue Fig Artisan, but it doesn’t do you any good sitting on a pallet! It’s time to mount that eye candy over your kitchen range so you can actually complete your space.
Thankfully, this range hood installation guide will make your life, or your contractor’s life, easy! We’ve put together step-by-step instructions that are logical and simple to follow. Plus, you can also watch this video that breaks down the entire process!
For those of you who like written instructions, we’ll break down how to install your range hood below.
Wall Prep
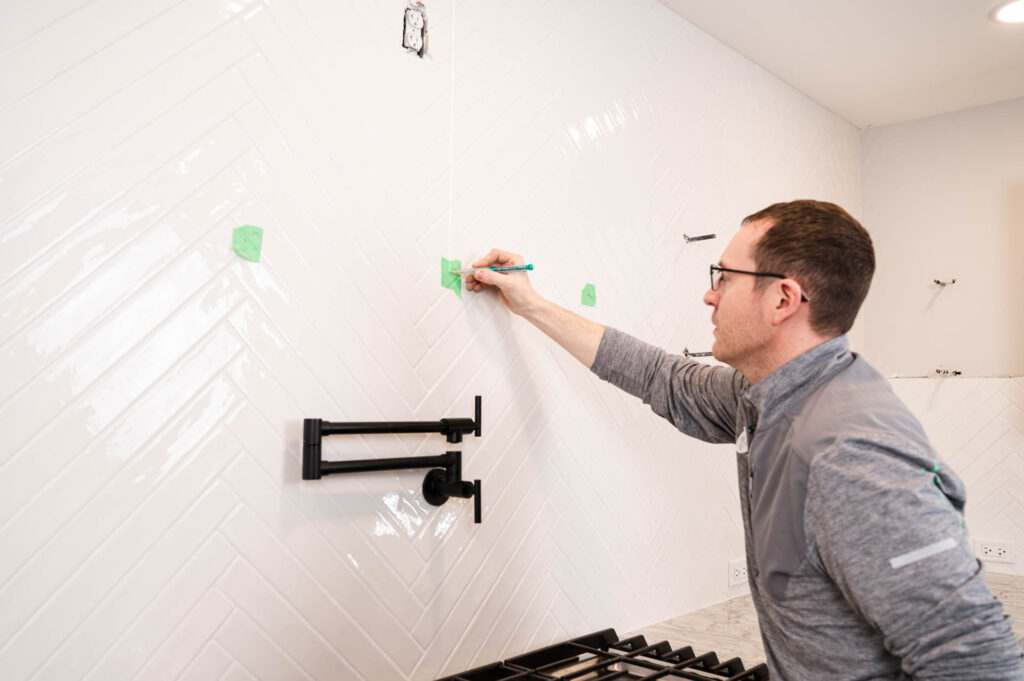
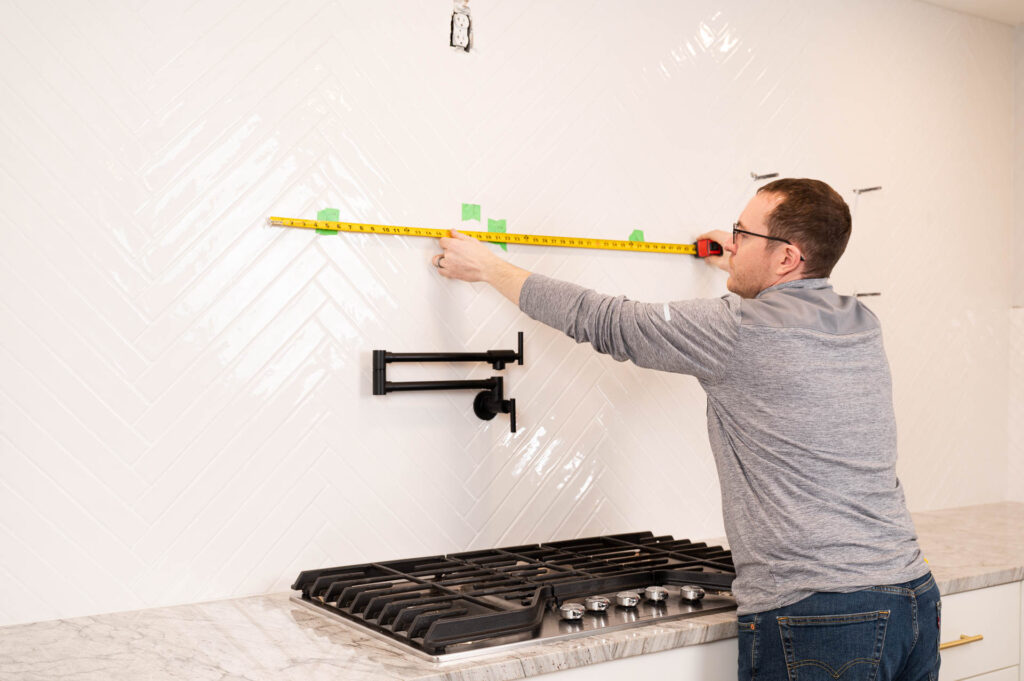
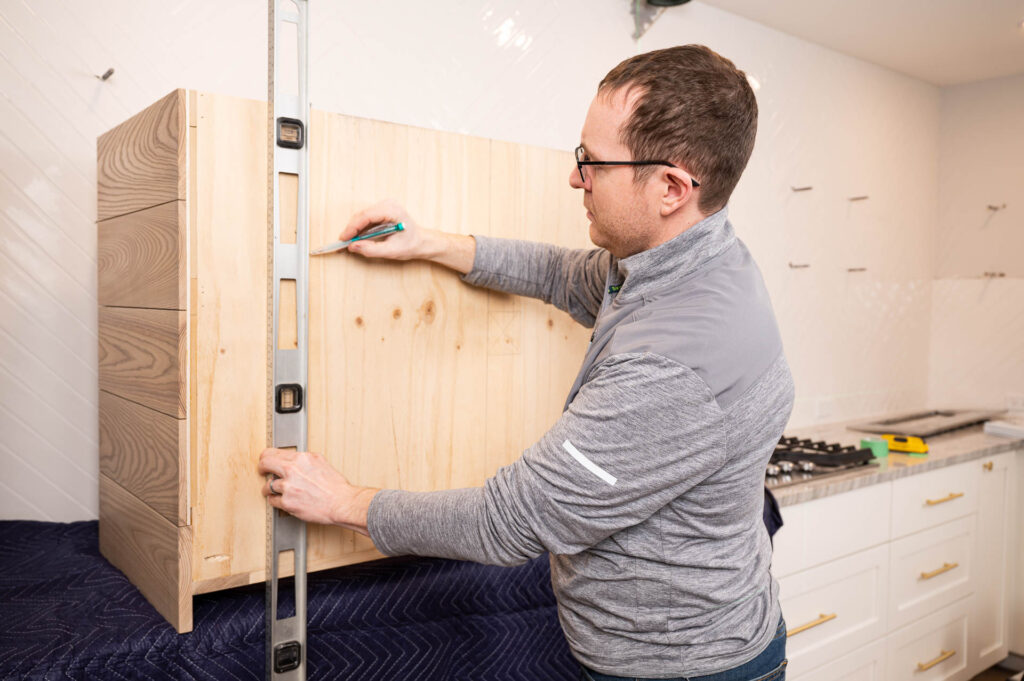
Place tape on the wall and mark the center line where the range hood will be installed. Make sure this mark is close to where the bottom of the hood will be when installed. An additional piece of tape can be added to the hood’s bottom board to help with alignment.

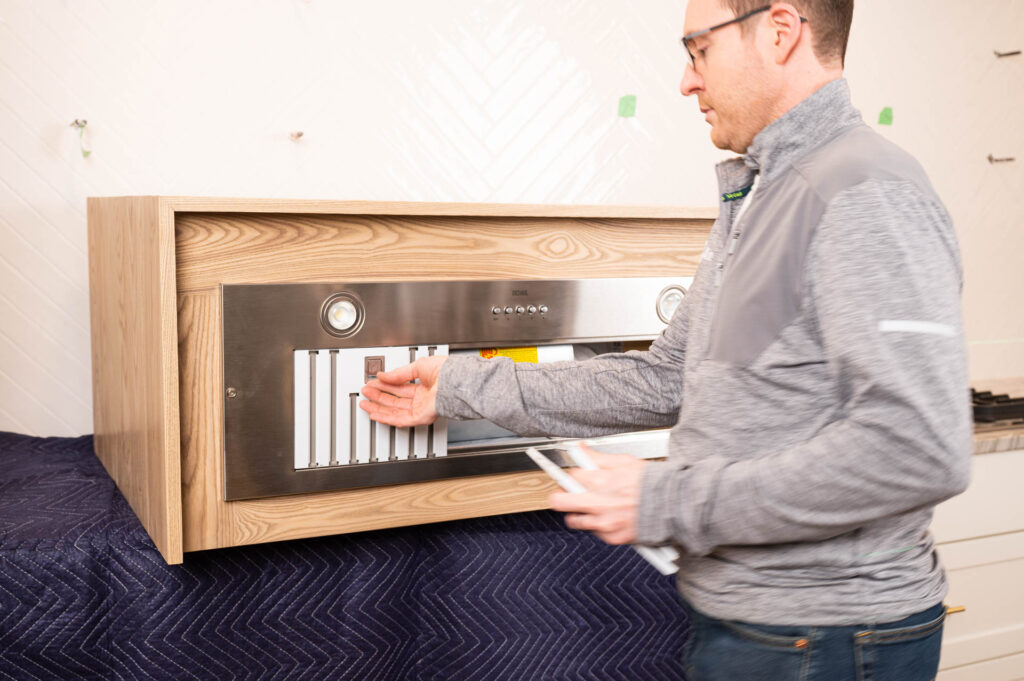
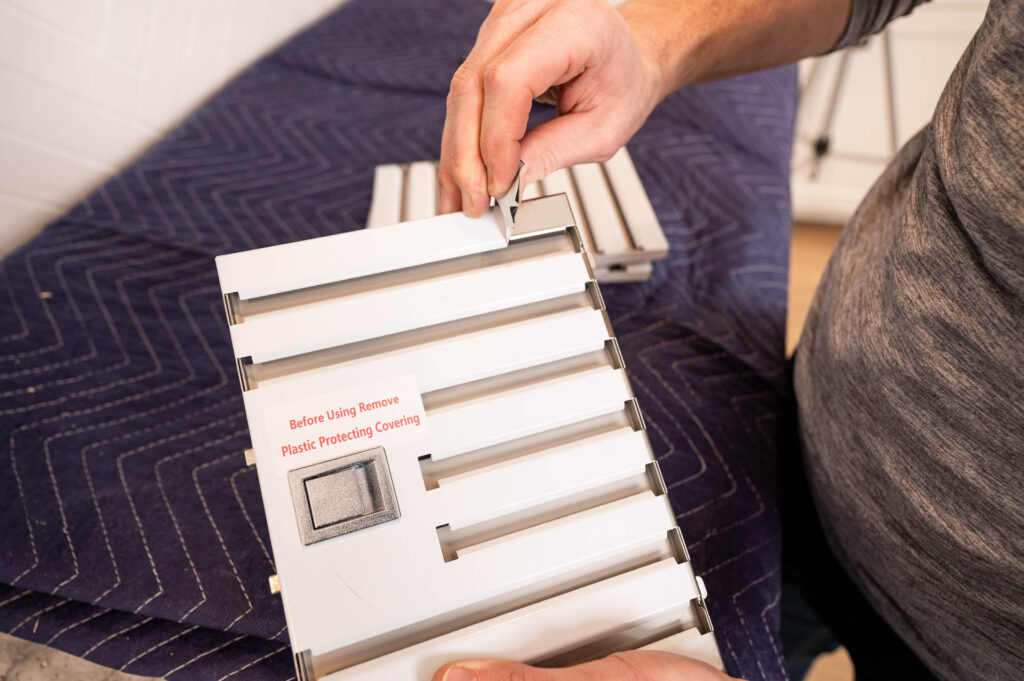
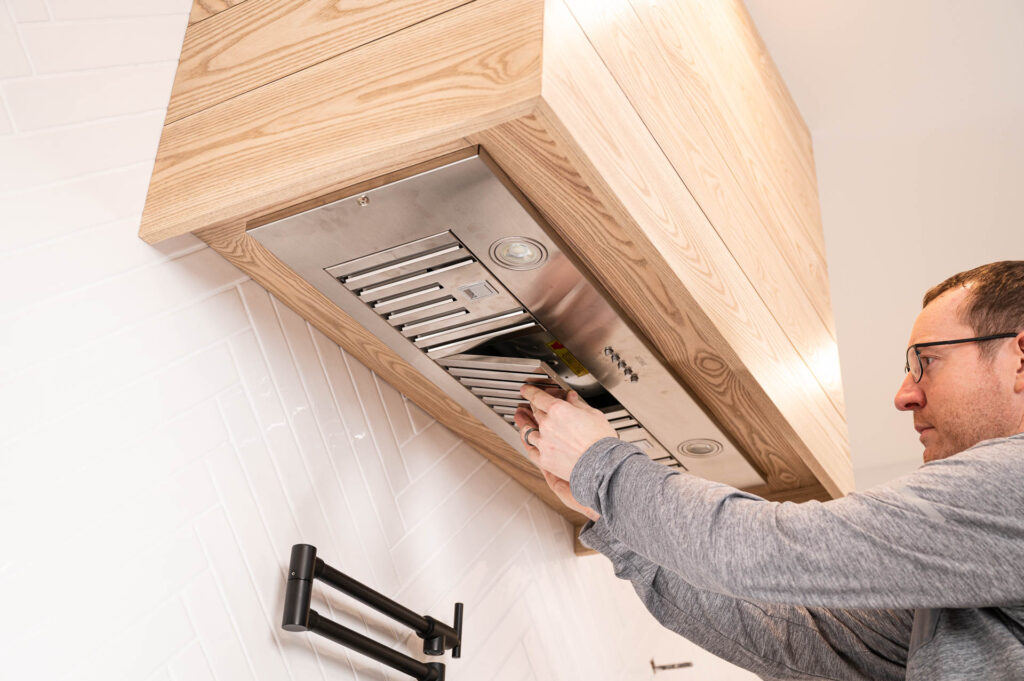
Remove the pre-installed insert from the underside of the range hood and set it aside.
To do this remove screws from the face frame, behind filters (some models), and from the control panel/buttons. Disconnect the button and light wiring at the pigtail connectors. Note: Not at the back of the button assembly.

Mark off the locations of the wall studs and transfer the locations to the back side of the range hood backboard. Note: be sure to ID what side is left and what side is right of center as the hood is installed, because you are on the back side it’s reversed.
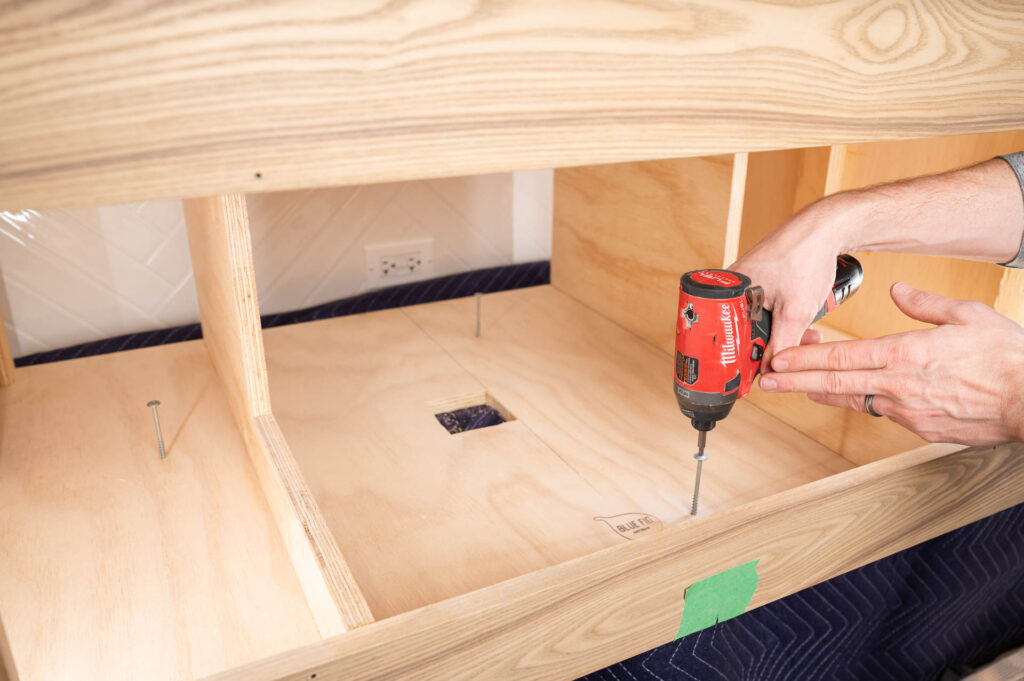
Predrill holes from the backside of the backboard and position anchoring screws (3” cabinet screws or larger) into these holes from inside the range hood.
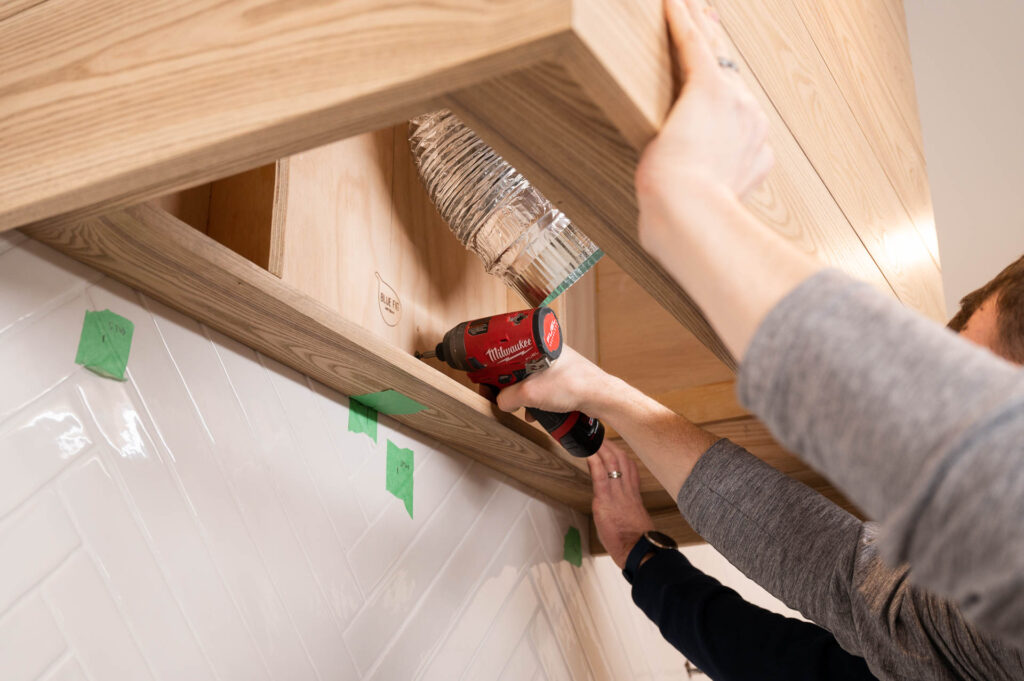
Measure outlet location in relation to the centerline. transfer measurements to the backboard and remove needed material with a hole saw or jig saw.
Prep Range Hood for Mechanical Connections
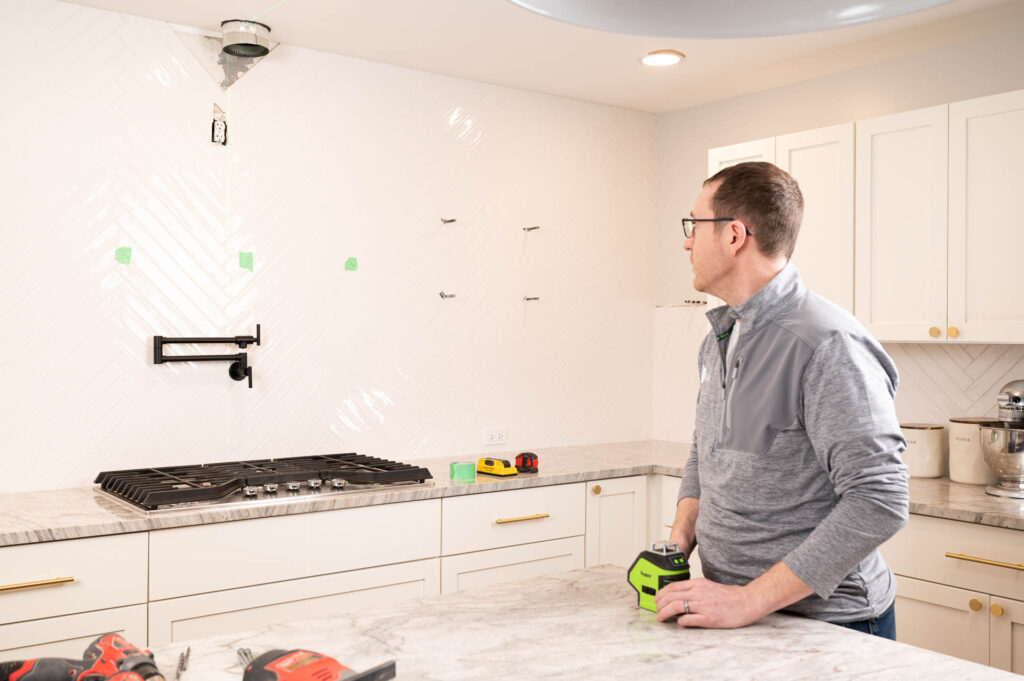
Electrical: Reference the centerline of the wall where the hood will be mounted, the electrical outlet or supply line (for direct wire) should be as close to the center line as possible and be at least 15″ up from the bottom of the hood. Most inserts come pre-wired and ready to be plugged in.
Ducting: Position ductwork as close as possible to the centerline. The preferred duct path is through the ceiling. Ducting can also be routed out and through the backboard/wall. If this method is needed. Position the duct as high as possible and as close to the center as possible. Then cut the needed material away from the Range hood backboard so the hood can be positioned around the duct.
** Best ductwork configuration is as follows: Solid pipe running down from/through the ceiling and stopping 6-8″ down from the ceiling. Continue the run with a code-compliant flex duct. Then from the flex duct to the Insert. tape all fittings with code-approved duct tape. If ducting through the backboard/wall a solid elbow/90 can be used and then continued in the above method. For smaller hoods using all flex ducts may be required.
Mounting Your Range Hood
To mount the hood to the wall position the ductwork inside the hood while sliding the hood body along the wall and into its final location. Align the centerline drawn above and the centerline on the range hood body/bottom board.
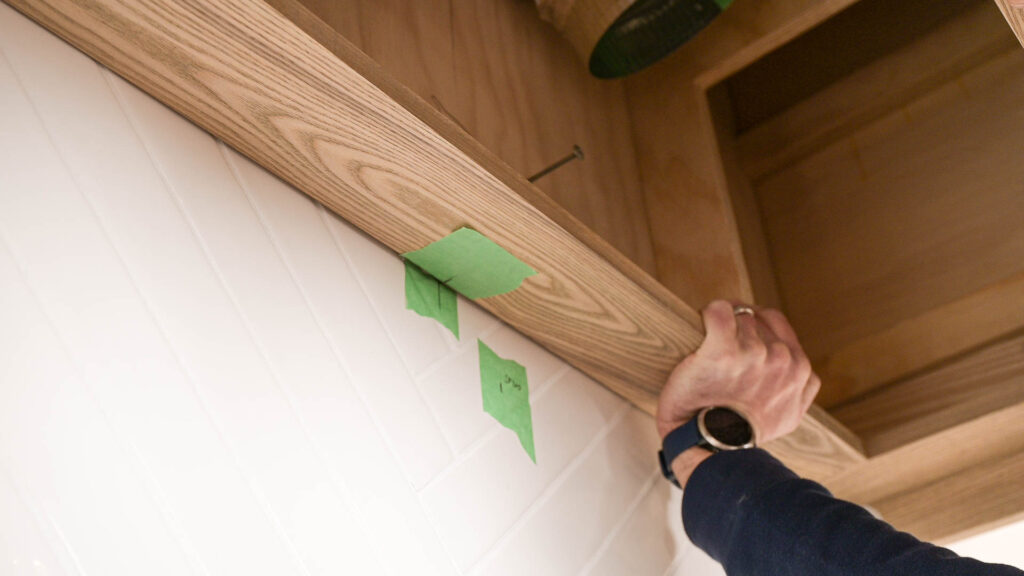
Using 3” cabinet screws or larger, drive the screws you’ve already installed. Screw through the backboard, wall material, and securely into the wall studs.
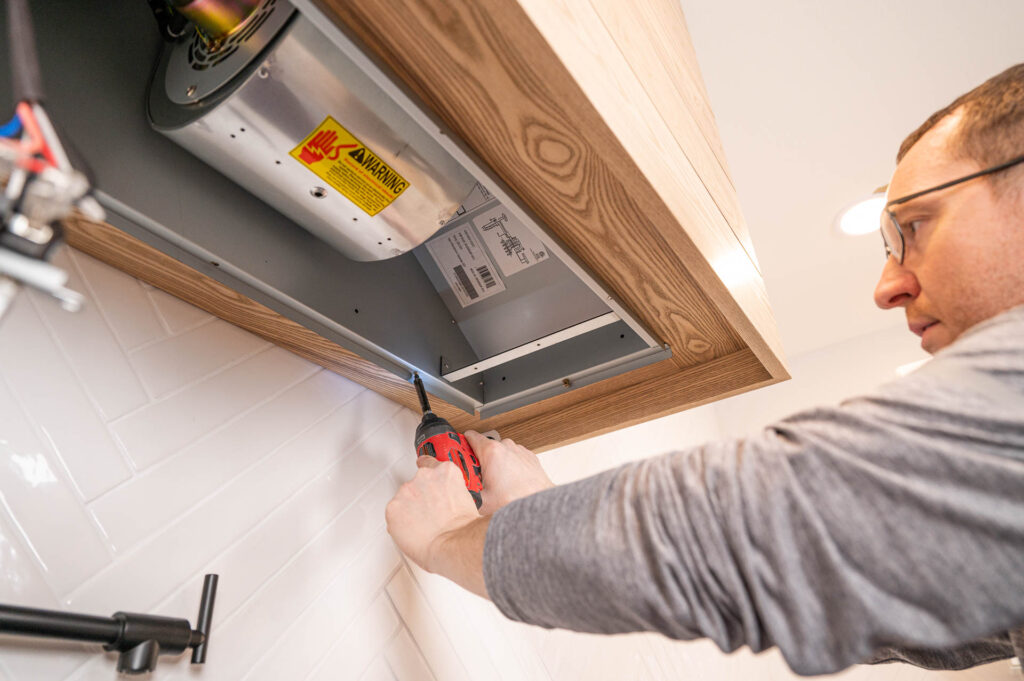
Re-Install Insert
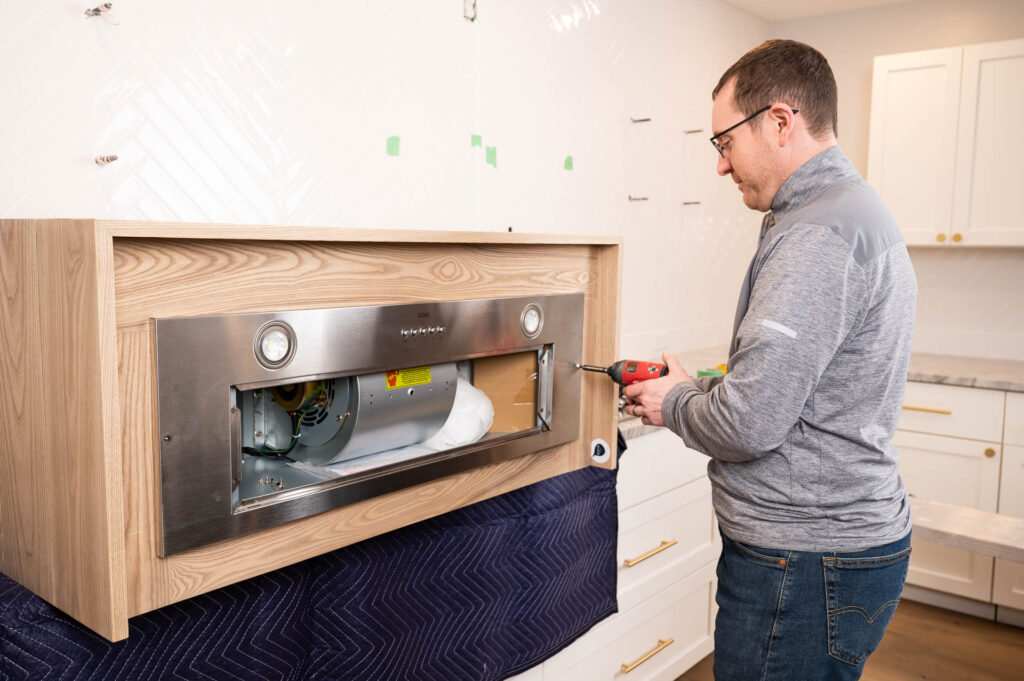
Position your insert under the range hood, face down.
Finalize the electrical connection.
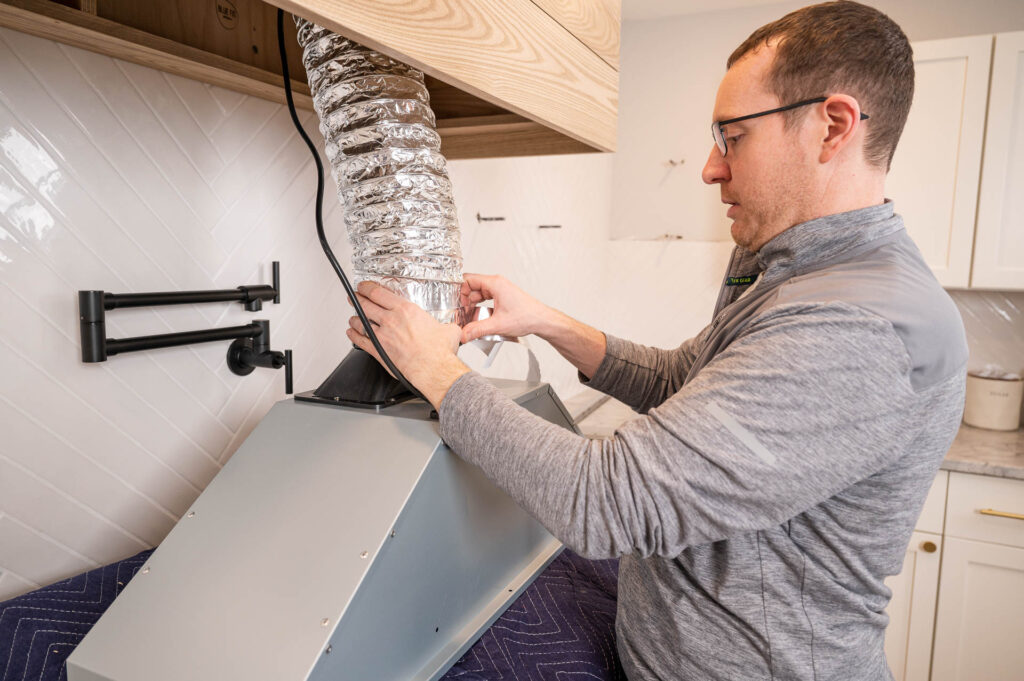
Pull the flex duct down to the duct adapter that’s on the top of the insert/blower. Secure ductwork
using code-approved duct tape.
Re-install the insert in reverse order of the removal process.

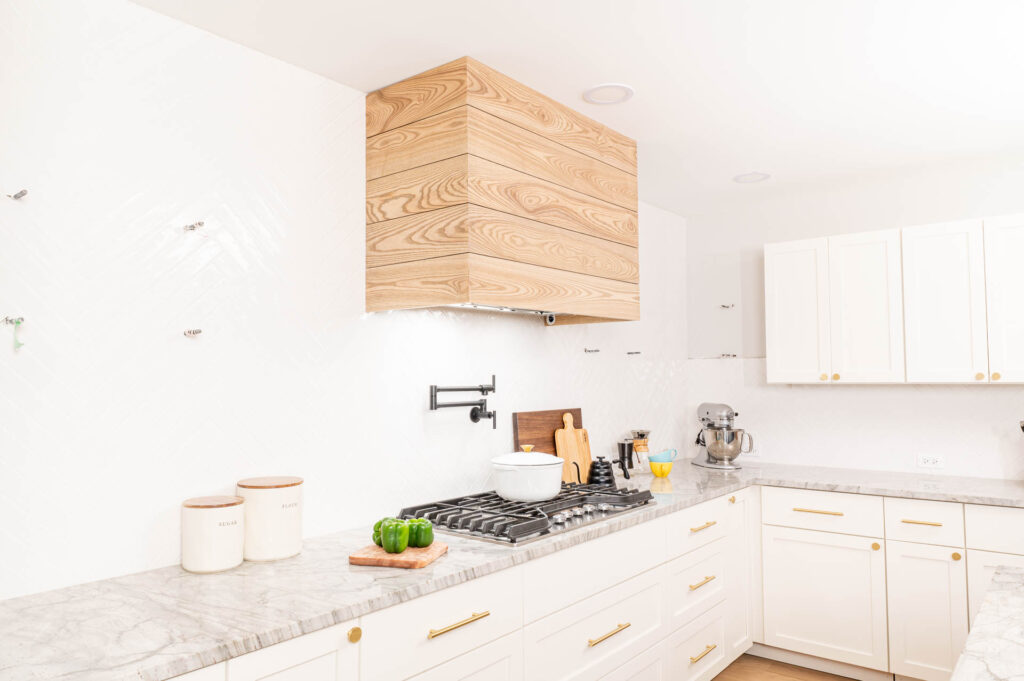
Admire That New Range Hood!
You can now admire the beauty and power of your new custom wood range hood! If you run into any snags along the way, we’re always here to provide support. Enjoy!

Corbel Installation (When Applicable)
- Open the package and remove bagged screws from the top of the corbels.
- Note the keyhole locations on the top side of the corbels.
- Measure from the back edge of the corbel to 3⁄4 the length of the keyhole slot (standard
location/measurements will be 2 3⁄4 and 7 3⁄4). In addition, measure from both sides/faces of the corbel to insure the keyhole slot is in the center of the corbel. - With the above measurements install the screws into the is the underside of the apron (trim around
the base of the hood), measuring from the backside/wall and out towards the room. - Leave just enough screw revealed to allow for a snug fit.
- Apply silicone to the back/wall side of the corbel and push the corbel against the wall.
- Install complete.
